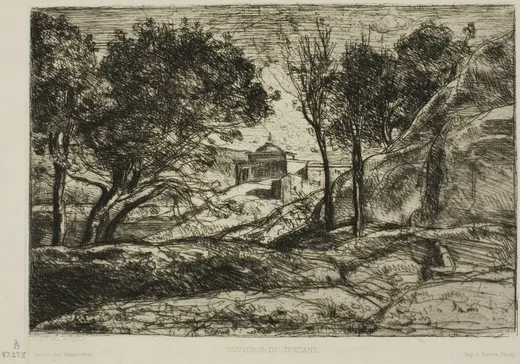
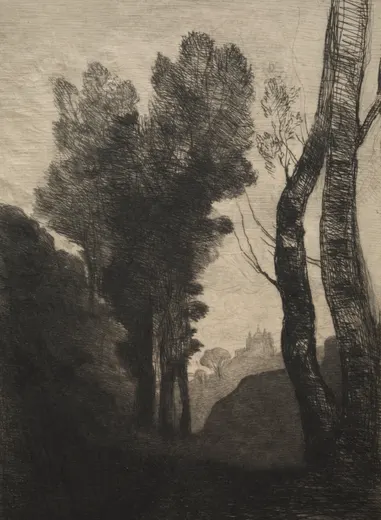
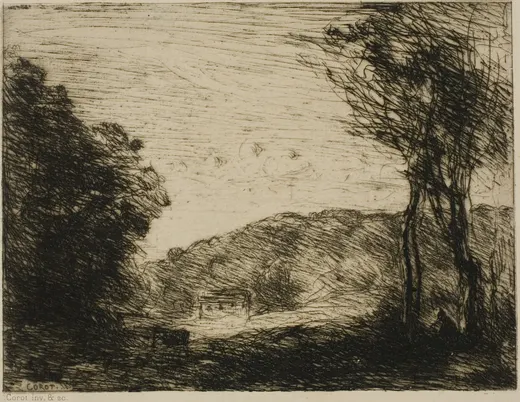
Italian Landscape (etching)
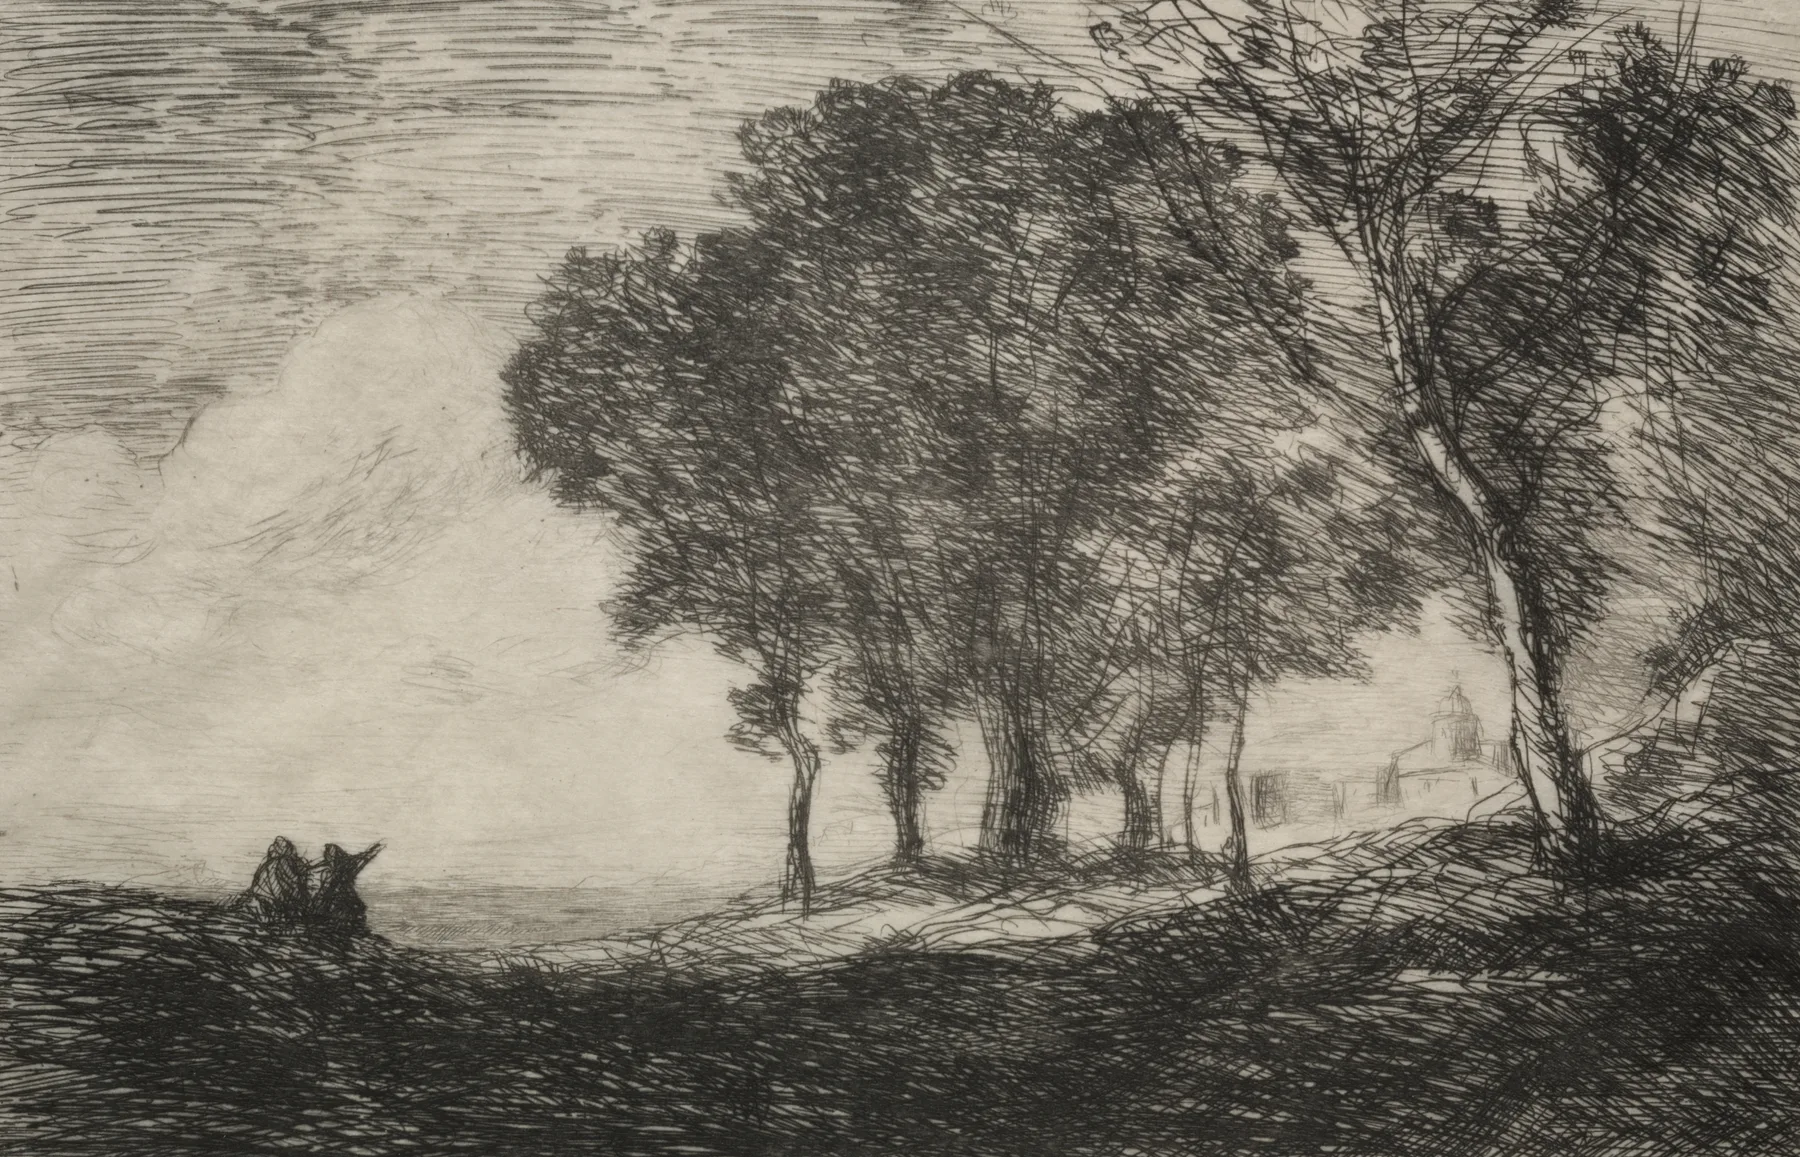
Corot, Italian Landscape, c. 1865. etching.
Pins mark where to look before you draw.
The Cleveland Museum of Art · Gift of The Print Club of Cleveland
Italian Landscape (etching)
Trees against a lit sky, in counted line
About 1865: a row of trees along a bank, two figures in the near shadow, a lit sky laid in with long horizontal strokes, a distant building at the right. This is the mature Corot etching: the whole design is a late Souvenir, and every tone is a layer of hatching. The sky alone teaches more about line than most books.
- Difficulty
- Time
- about 3 h
- You draw with
- H, HB and 2B graphite, fine pen optional
Why this one
- The sky is hatched, not left: a lesson in making light with line.
- The trees are the Mass unit's clumps rendered in the Line unit's means.
From your kit
The whole kit →- 1Grafwood H, HB, 2B H, HB for layout and line; 2B for the darks. Long points from the Blackwing on everything up to B.
- 2Grafwood H for the lay-in; a fine pen if you have bought one, else a needle-pointed Grafwood F the pen studies are about the broken line, not the ink.
- 3Kneaded eraser and the Mono Zero press-and-lift corrections only; the Mono Zero for a single sharp light.
- 4Alpha sketchbook 9 x 6 draw at the book's size and keep the proportions; date the page.
In general, this study asks for
- Drawing pad or smooth cartridge
- 2H and H with long points
- HB for accents
- Kneaded eraser
- Sandpaper block
Watch first
All videos →Four minutes that make every etching in this catalogue legible: ground, needle, acid, ink, wipe, press.
YouTube Rembrandt's printmaking process: 17th-century etchingNorwich Castle Museum · Shows how a plate is bitten in stages for lighter and darker line, the origin of counted tone.
 Cross-hatching drawing techniques: pen, ink, pencilArt Prof · Cross-hatching taught as a value system, which is how the etchers used it.
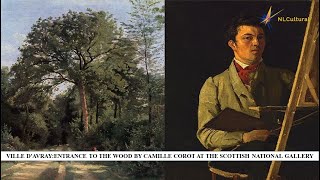 Ville d'Avray, Entrance to the Wood: Corot at the Scottish National GalleryNL Cultural · A single late Corot looked at slowly; watch for the three divisions of light and the lost edges.
 Intaglio printing in the studioJackson's Art · A modern printmaker inking and wiping a plate. Watch how much tone lives in the wipe.
The plan
4 stages · ~160 min- 1
Thumbnail the three zones
10 minThree-value thumbnail first: dark bank and trees, halftone distance, light sky.
Checklist0 / 1 - 2
Sky in horizontals
40 minThe sky first, which is backwards and correct: long horizontal strokes from the shoulder, spacing wider toward the horizon. Stop before it gets dark.
FigureValue by spacing: the sky is the lightest spacing on the plate. Checklist0 / 1 - 3
Trees as hatched clumps
80 minBlock the clumps in H. Then HB scribbled hatch inside each clump, leaving sky holes as bare paper near the edges. Darker clumps get a second layer. Trunks and the branch zig-zag last with the 2B.
FigureClumps first. In an etching the texture is hatch. Checklist0 / 3 - 4
Figures, distance, audit
30 minTwo figure marks. The far building at a whisper. Squint; compare; note where your sky went too dark.
Checklist0 / 2
What it should look like
- A tree line whose foliage reads as masses and whose sky reads as light, with not one area of flat tone on the sheet.
Where it goes wrong
- The sky as dark as the trees. Hatching everywhere at one spacing. Open the sky spacing; the horizon can be nearly bare.
Log this session
Start the clock when you pick up the pencil. Stop it when you put it down. Log it. Every session counts toward the box.
Status
How did it go?
Before this, ideally