Format, horizon and the viewfinder
Format, horizon and the viewfinder
Deciding what the picture is about before the first mark
Choose format and horizon placement deliberately for three different subjects, using the viewfinder.
- Master
- Thomas Girtin
- Difficulty
- Time
- about 0.5 h
- You draw with
- 2B
Why this one
- Unit 6 of the program: Composition.
- Four thumbnails of one subject: sky picture, ground picture, tall picture, and the crossed-out centred one.
From your kit
The whole kit →- 1Grafwood 2B 2B for the darks. Long points from the Blackwing on everything up to B.
- 2Kneaded eraser and the Mono Zero press-and-lift corrections only; the Mono Zero for a single sharp light.
- 3Alpha sketchbook 9 x 6 draw at the book's size and keep the proportions; date the page.
In general, this study asks for
- Copier paper
- 2B
- Two L-shaped cards (the viewfinder)
- A window view or three photos
Watch first
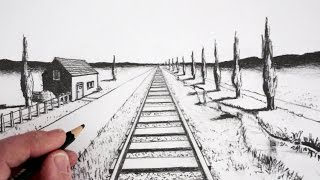
All videos →Thumbnails as design, not sketches. Pairs with the viewfinder.
YouTube
The plan
4 stages · ~44 min- 1
Make the viewfinder
13 minCut two L shapes from card, each arm about six inches long and an inch wide. Held together they make any rectangle. Hold at arm's length and slide.
Checklist0 / 1 - 2
Three decisions
13 minFor a subject with a big sky: landscape format, horizon low, thumbnail. The same subject as a ground picture: horizon high, thumbnail. A tall element in it: portrait format, thumbnail. Each three values, three minutes. Notice how different the three pictures are from one spot.
FigureLow, high, tall. Never centred. Checklist0 / 1 - 3
The centred mistake
13 minMake one thumbnail with the horizon dead centre. Look at it beside the others. It is cut in half and static. Cross it out. You will never do it again by accident.
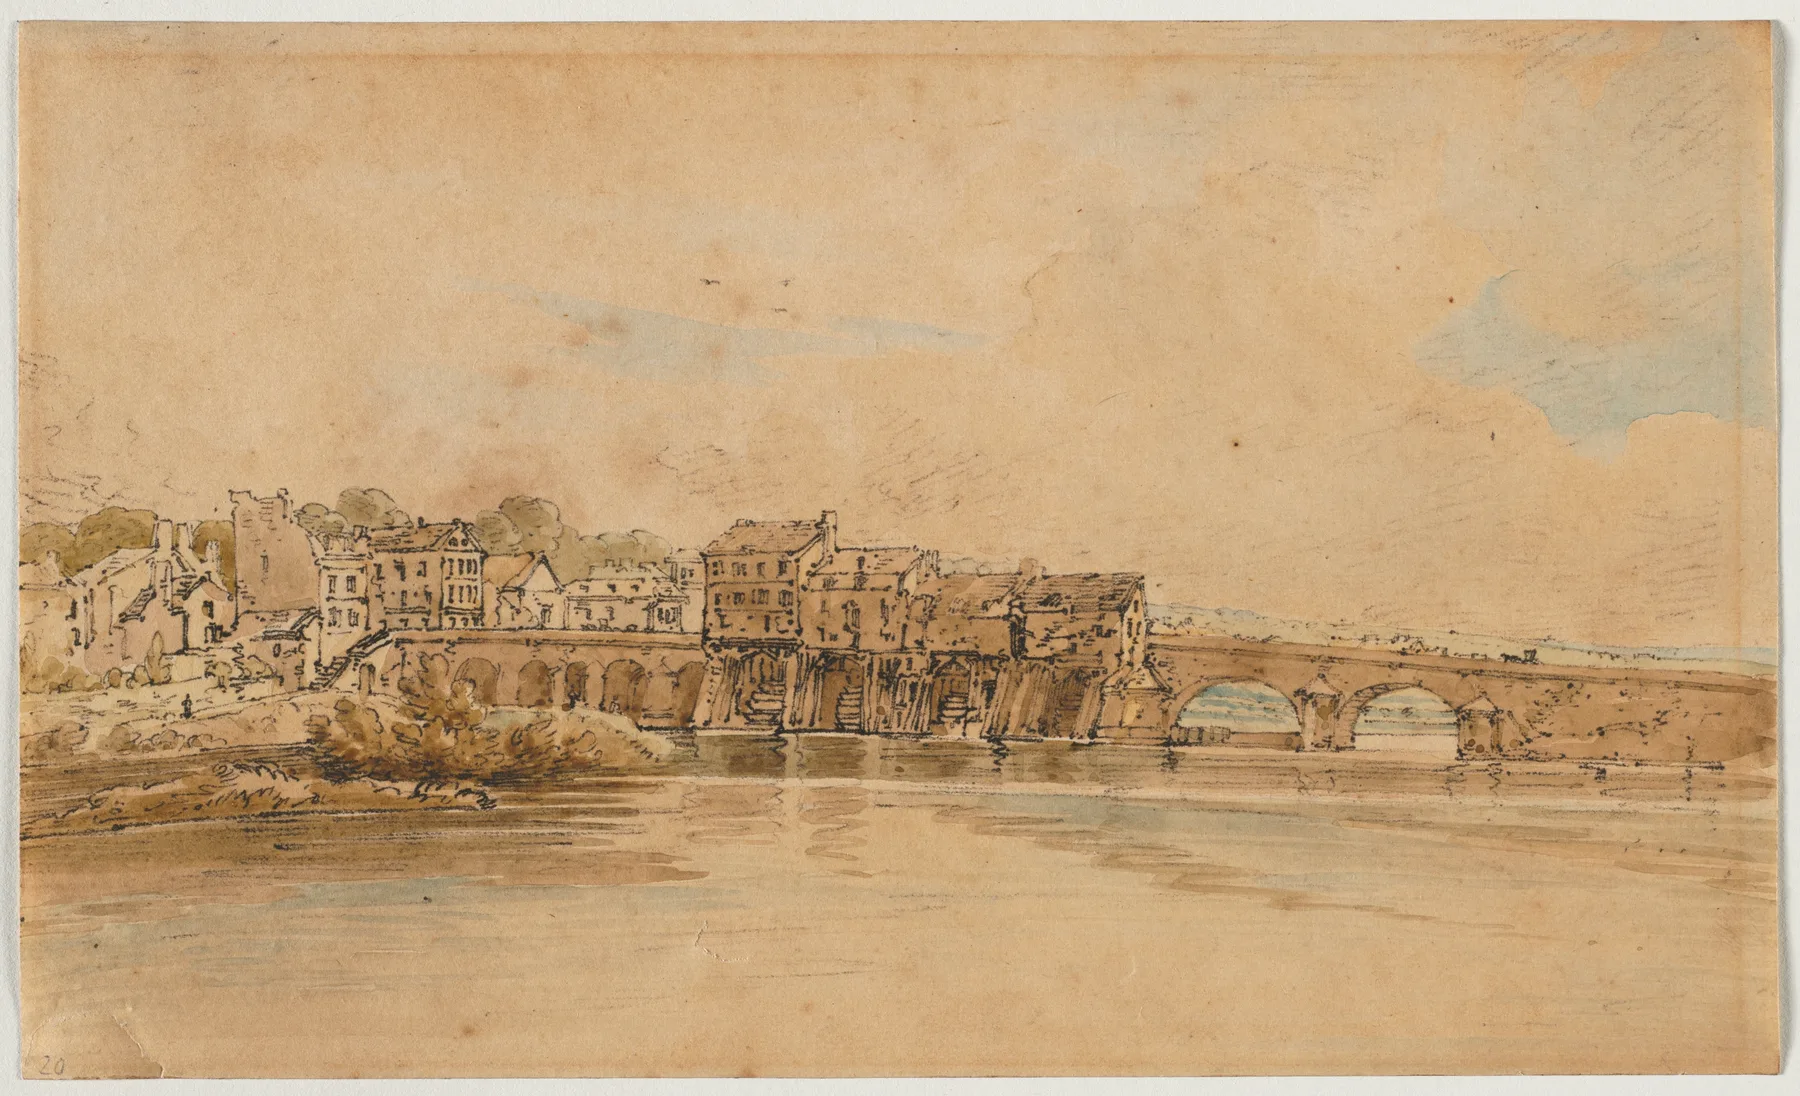
Girtin, A Selection of Twenty of the Most Picturesque Views in Paris: On the Banks of the Marne below the Bridge at Charenton, 1802. soft-ground etching with bistre wash.
Girtin, from the Picturesque Views in Paris. A low horizon and a large quiet sky let the buildings carry the picture.
The Cleveland Museum of Art · Dudley P. Allen Fund
Checklist0 / 1 - 4
Self-check
5 minTick each item honestly. If one is a no, the session is not finished; go back to that step.
Checklist0 / 3
What it should look like
- Four thumbnails of one subject: sky picture, ground picture, tall picture, and the crossed-out centred one.
Where it goes wrong
- Always the pad's default orientation. Habit. Turn the pad. Decide with the viewfinder first.
Log this session
Start the clock when you pick up the pencil. Stop it when you put it down. Log it. Every session counts toward the box.
Status
How did it go?