Landscape
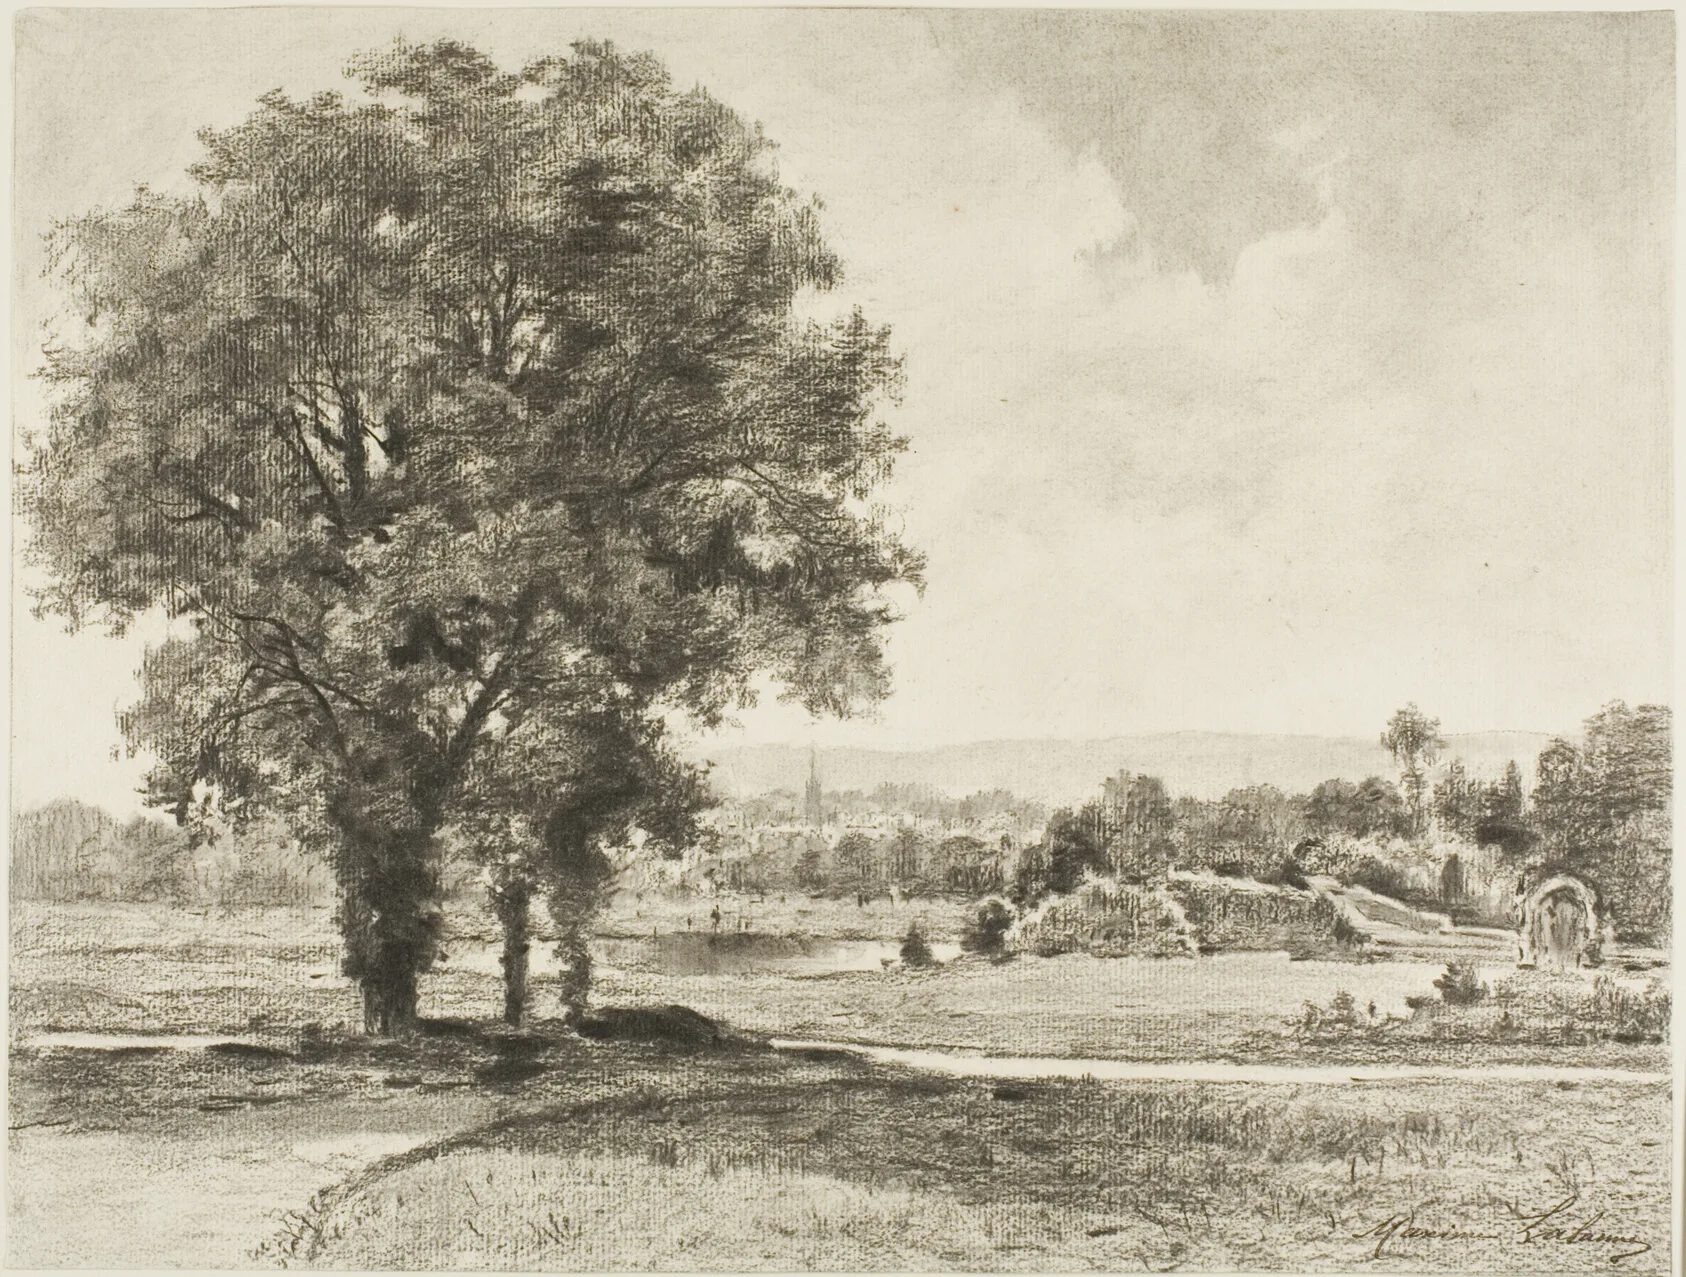
Lalanne, Landscape, 1870/75. Charcoal, with stumping and erasing, on ivory laid paper.
The Art Institute of Chicago · The Charles Deering Collection
Landscape
Lalanne, 1870/75: a plate copy from charcoal and chalk
Landscape, 1870/75: Charcoal, with stumping and erasing, on ivory laid paper, 28.2 × 37.2 cm (11 1/8 × 14 11/16 in.) (The Art Institute of Chicago). A plate copy: the standard protocol for charcoal and chalk applied to this one sheet at the size of your book, with Lalanne's own habits as the checklist. Find the eye level. Every window sill above it tilts down, every one below tilts up.
- Master
- Maxime Lalanne
- Difficulty
- Time
- about 2 h
- You draw with
- willow charcoal or 4B and 6B graphite, kneaded eraser
Why this one
- Tone from parallel line, thickening into the shadow and opening into the light.
- A city block as three planes and a roof, with the detail hung on afterwards.
- The sky as a few horizontal strokes, or nothing.
From your kit
The whole kit →- 1Grafwood 4B, 6B 4B, 6B for the darks, on their sides for mass. Long points from the Blackwing on everything up to B.
- 2Willow charcoal, or until it arrives Pitt Matt 12B and 14B on their sides the matt grades are the closest graphite gets to willow. Slip sheet under the hand.
- 3Pitt Matt 14B, knife-sharpened stands in for the charcoal pencil: trunk, branch zig-zag, the one accent.
- 4Kneaded eraser (warm it) and the clean Mono Zero lift the lights out of the mass; the Mono Zero for sky holes and lit edges.
- 5Alpha sketchbook 9 x 6 draw at the book's size and keep the proportions; date the page.
In general, this study asks for
- Drawing pad or cheap newsprint
- Willow charcoal, medium
- Charcoal pencil
- Kneaded eraser
- Stump
Watch first
All videos →Permission to be loose. Watch the side-of-the-stick strokes.
YouTube Subtractive drawing: symmetry and value in charcoalNathan Orosco · Laying a charcoal ground and lifting the lights out, the late-Corot method.
 Atmospheric charcoal landscape drawing tutorialMad Charcoal · Broad charcoal masses and lifted lights; the closest thing on YouTube to a late Corot being made.
The plan
4 stages · ~80 min- 1
Read the plate first
5 minBefore any mark, look at Landscape for five minutes with the pencil down. Find the eye level or the horizon. Find the lightest light and the darkest dark and notice whether they touch. Count the big shapes: it is rarely more than four. Say what the picture is about in one sentence.
Checklist0 / 3 - 2
Three values, on the side of the stick
30 minBreak the stick to two inches. Lay the whole drawing as three flat values with the side of the stick: paper, middle, dark. No edges, no lines, no detail. Stand back after each pass.
Checklist0 / 3 - 3
Lift the lights, lose the edges
35 minKneaded eraser: lift the lights out of the masses where the original has them (sky holes, a lit trunk, the far plane). Stump or finger: lose the edges the original loses, usually at the base of things. Charcoal pencil: the few accents, last.
Checklist0 / 3 - 4
Compare and note
10 minSide by side with the original: where did you add what was not there? Where did you darken what was light? Write one sentence on the sheet about what to change next time. Date it. Box it.
Checklist0 / 2
What it should look like
- Masses first, with no outlines.
- Lights that were taken out of dark.
- Soft everywhere except the two or three places that must be sharp.
Where it goes wrong
- Drawing with the tip. It makes lines, and lines make outlines. Side of the stick for the first thirty minutes, no exceptions.
- Grey everywhere. No true dark was committed. Put the darkest dark in early and compare everything to it.
Log this session
Start the clock when you pick up the pencil. Stop it when you put it down. Log it. Every session counts toward the box.
Status
How did it go?
Related studies
 Master study
Lalanne
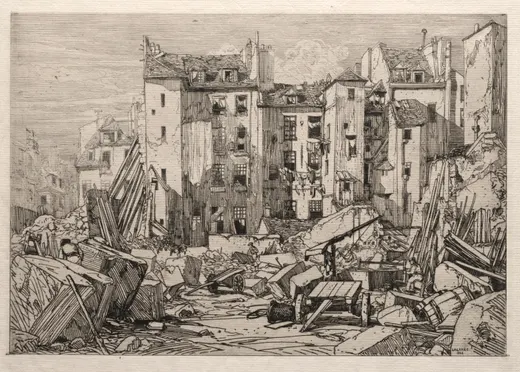
Demolition of Old Houses in Paris
Party walls, rubble and a city block as three planes
3h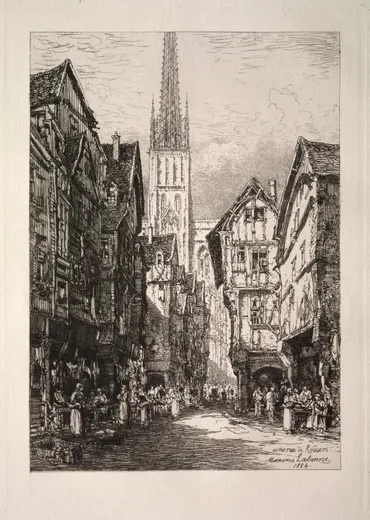 Master study
Lalanne
A Street in Rouen
Timber houses, a spire, and a crowd on the eye level
3h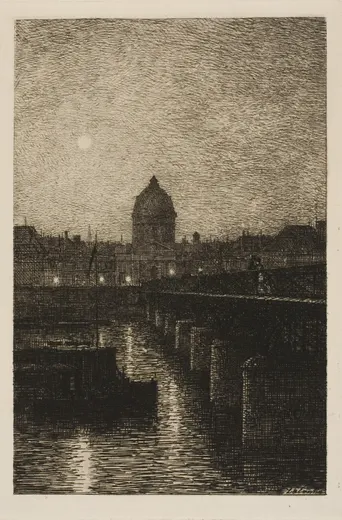 Master study
Lalanne
Le Pont des Arts at dusk
A bridge, a lamp and a dome drawn as masses in failing light
2h