Seeing
Line + MassEnvelope, masses, detail
Enclose the subject in five straight lines. Divide that into big masses. Add detail last, and least. Spend half your time on stage one.
Every drawing in this course is built in the same three stages. First the envelope: a simple polygon of five or six straight lines that just encloses the whole subject, sighted and measured so its proportions are right. Second the big masses: the envelope divided into the main shapes (the tower, the nave, the roof, the tree, the ground), still as straight lines and simple curves. Third the detail: windows, mouldings, foliage texture, and only as much as the design needs.
Beginners start at stage three, drawing a window beautifully in a wall that is the wrong size on a building that is in the wrong place. Masters start at stage one, and if the envelope is right nothing after it can go badly wrong. Spend half your drawing time on the envelope and the masses. It will feel slow. It is the fast way.
Draw the envelope with a 2H, lightly, so it can be adjusted and later erased. Check it with plumb, level and comparative measurement before moving on. The moment you move to stage two, the envelope becomes law.
From your kit
The whole kit →- 1Grafwood 2H, long point, barely touching the envelope and the masses are ghost lines you will draw over, so they must be pale.
- 2Grafwood HB the committed contour, last.
Visuals
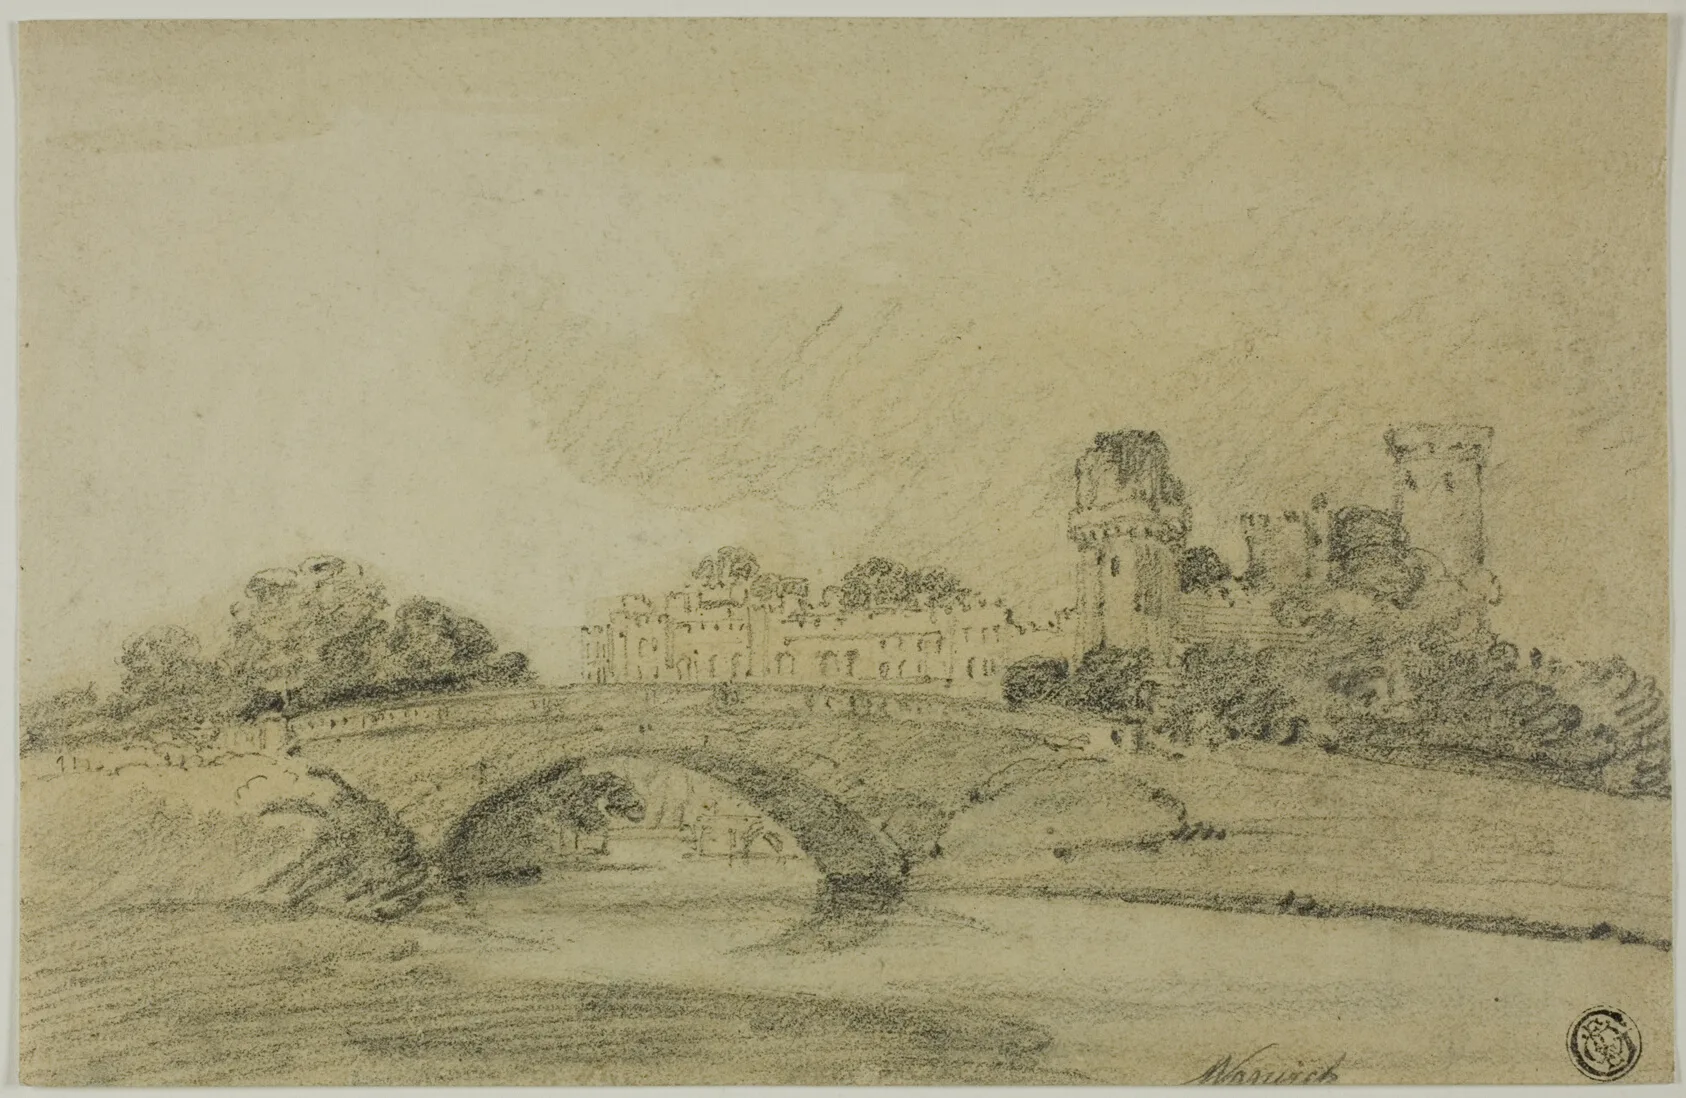
Girtin, Warwick Castle, n.d.. Graphite on cream wove paper.
Girtin, Warwick Castle (graphite). A field sketch that stopped at stage two: envelope and masses, the shadow side indicated, and nothing more. It is complete.
The Art Institute of Chicago · The Leonora Hall Gurley Memorial Collection
Pitfalls
What
Starting with the most interesting part.
Why
It will be beautifully drawn and wrongly placed.
Fix
Start with the dullest part: the outer edges of the whole subject.