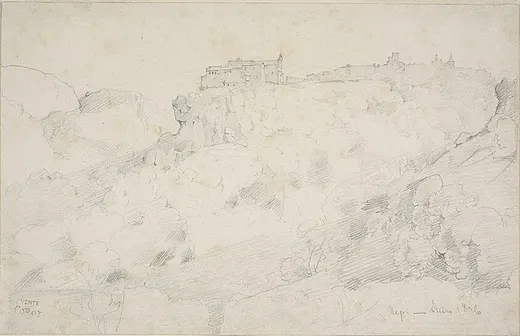
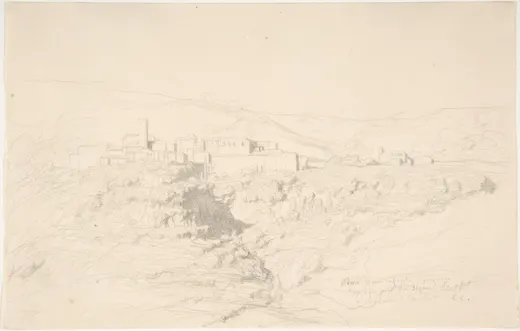
View of Narni
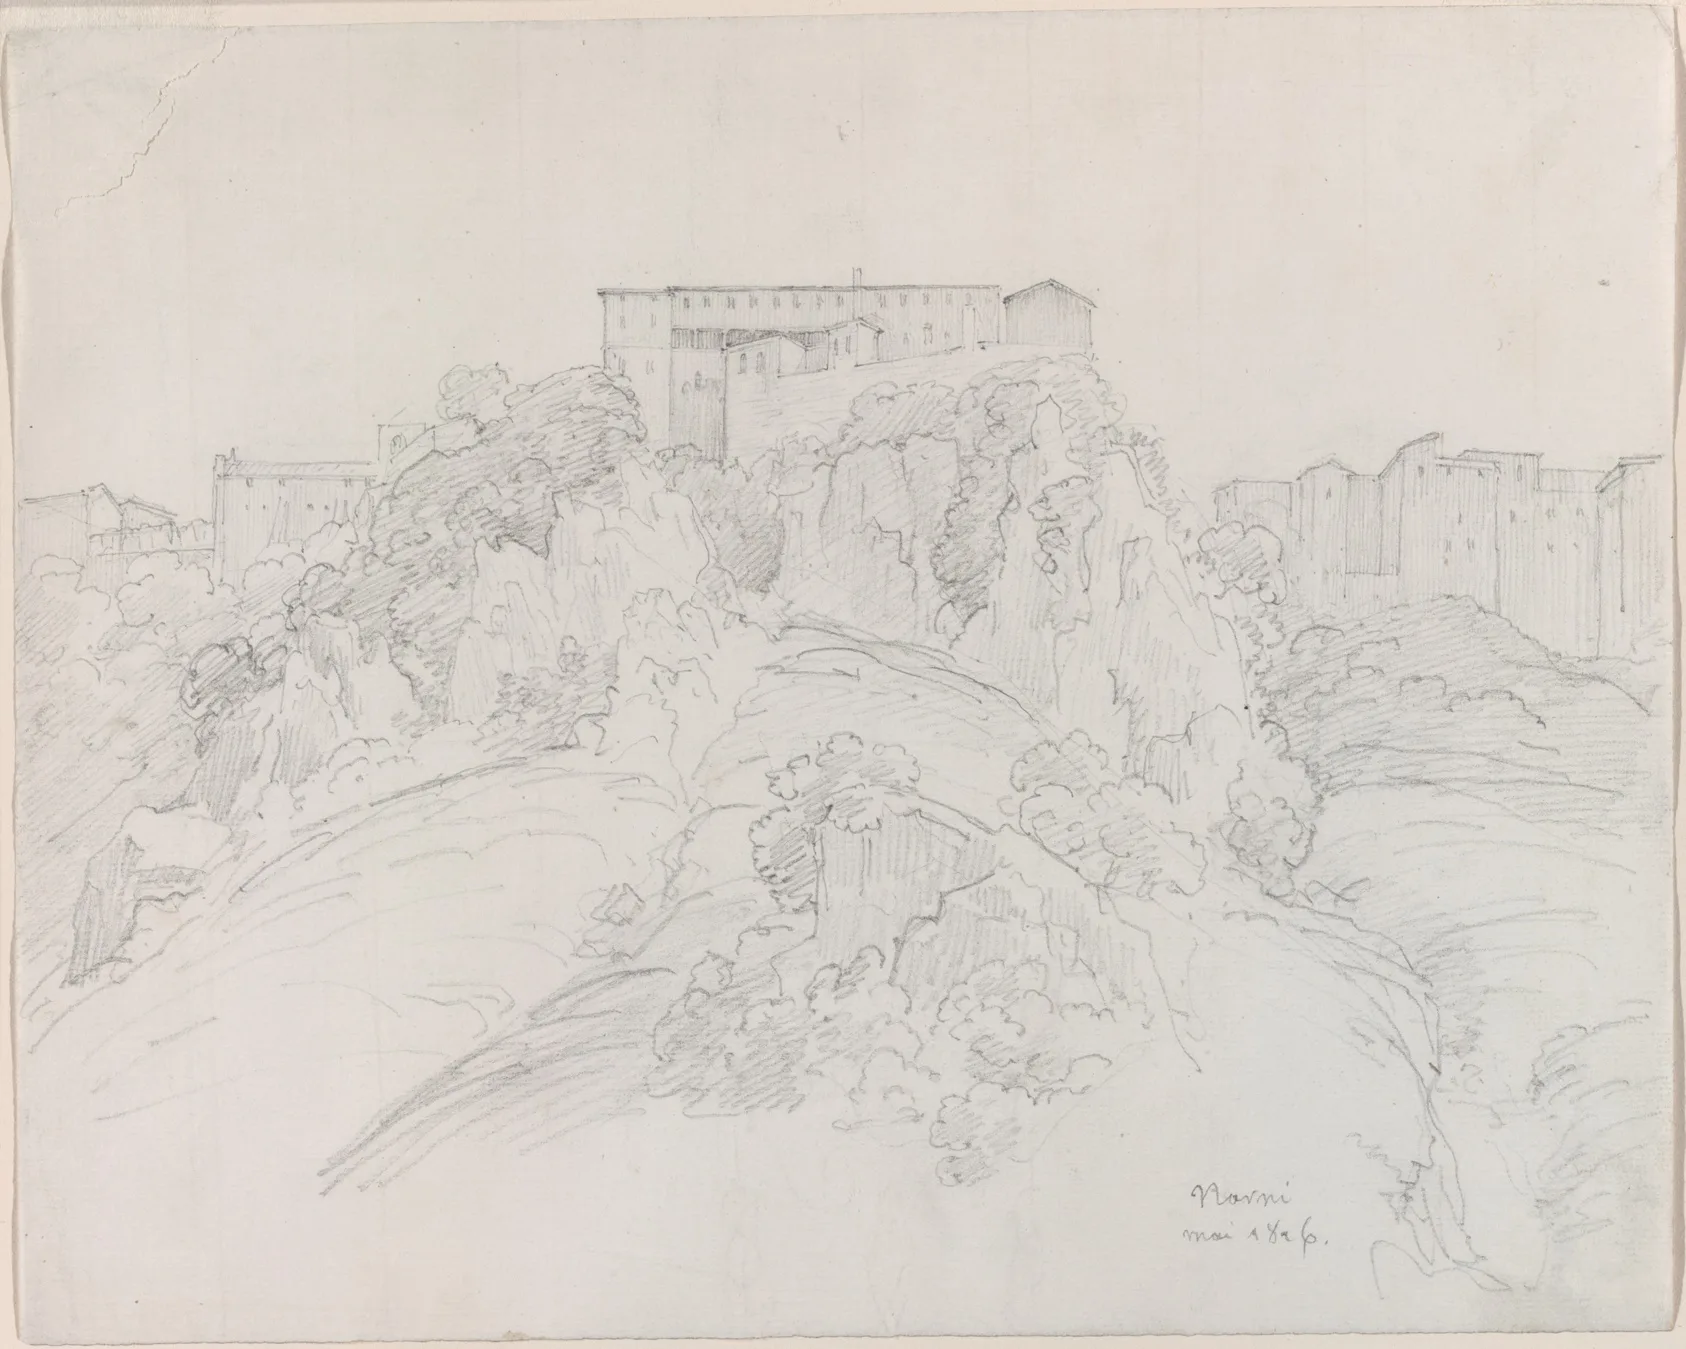
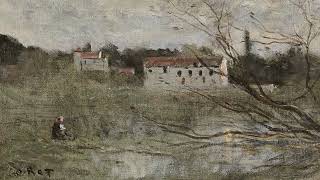
Corot, View of Narni, 1826. Graphite on ivory laid paper.
Pins mark where to look before you draw.
The Art Institute of Chicago · Gift of Dorothy Braude Edinburg to the Harry B. and Bessie K. Braude Memorial Collection
View of Narni
The set-up for a famous painting
Narni, 1826. From this sheet and others like it Corot built the Bridge at Narni paintings that made his name at the Salon. The drawing is a survey: the river valley, the broken Roman bridge, the town above, each placed with the dry precision of a topographer. It is a lesson in the difference between a drawing made to be looked at and a drawing made to be used.
- Difficulty
- Time
- about 2.5 h
- You draw with
- 2H, H and HB graphite
Why this one
- It shows Corot gathering facts: this is what a working study looks like.
- Water, architecture and distance are all on one sheet, so it is a rehearsal for everything later.
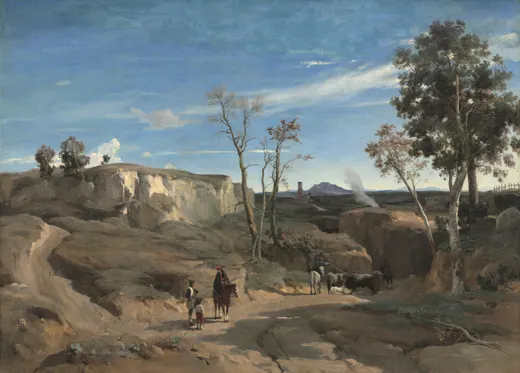
- Comparing it with the finished painting (linked) teaches what a master keeps and what he throws away.
From your kit
The whole kit →- 1Grafwood 2H, H, HB 2H, H, HB for layout and line. Long points from the Blackwing on everything up to B.
- 2Kneaded eraser and the Mono Zero press-and-lift corrections only; the Mono Zero for a single sharp light.
- 3Alpha sketchbook 9 x 6 draw at the book's size and keep the proportions; date the page.
In general, this study asks for
- Drawing pad or smooth cartridge
- 2H and H with long points
- HB for accents
- Kneaded eraser
- Sandpaper block
Watch first
All videos →Five hills, five values, in graphite.
YouTube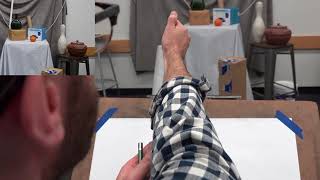
The plan
4 stages · ~130 min- 1
Three depths
15 minEnvelope the sheet as three horizontal depths: near bank, river and bridge, far town and hills. Decide the line weight for each before drawing: HB near, H middle, 2H far.
FigureNear, middle, far: each plane its own pressure. Checklist0 / 2 - 2
The bridge
40 minConstruct each arch inside its perspective square: springing points first, then the curve. The broken arch is the same geometry with its top missing. Keep the piers plumb.
FigureSquare first, then curve. Checklist0 / 2 - 3
Far town, near bank
60 minThe town and hills with the 2H at a whisper. Then the near bank with the HB: a few contour lines and one patch of hatch. The water: three or four horizontals, nothing more.
Checklist0 / 2 - 4
Compare with the painting
15 minOpen the Bridge at Narni painting (link below) beside your drawing. List three things he dropped between study and canvas. That list is a composition lesson.
Checklist0 / 2
What it should look like
- A three-depth survey in three pressures, with a bridge whose arches you could prove with a compass.
Where it goes wrong
- The far town drawn as dark as the bridge. One pressure for everything. Change pencil, not just intention: 2H for the distance.
Log this session
Start the clock when you pick up the pencil. Stop it when you put it down. Log it. Every session counts toward the box.
Status
How did it go?
Before this, ideally