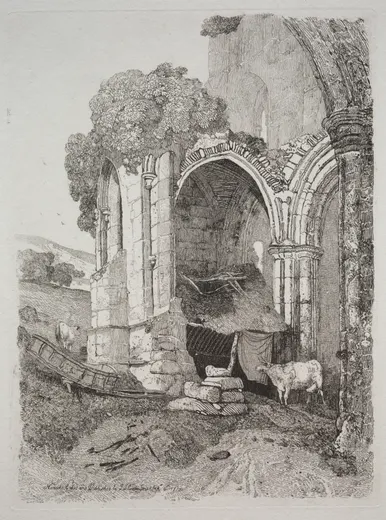
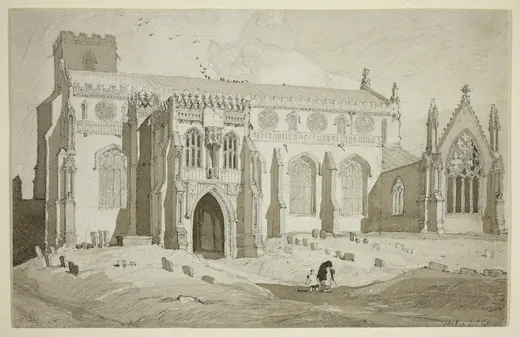
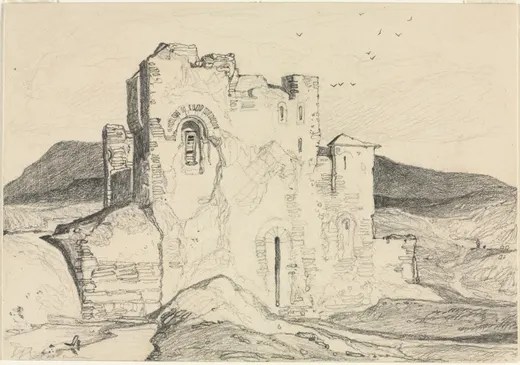
Plate 30, Bambro' Castle, Northumberland
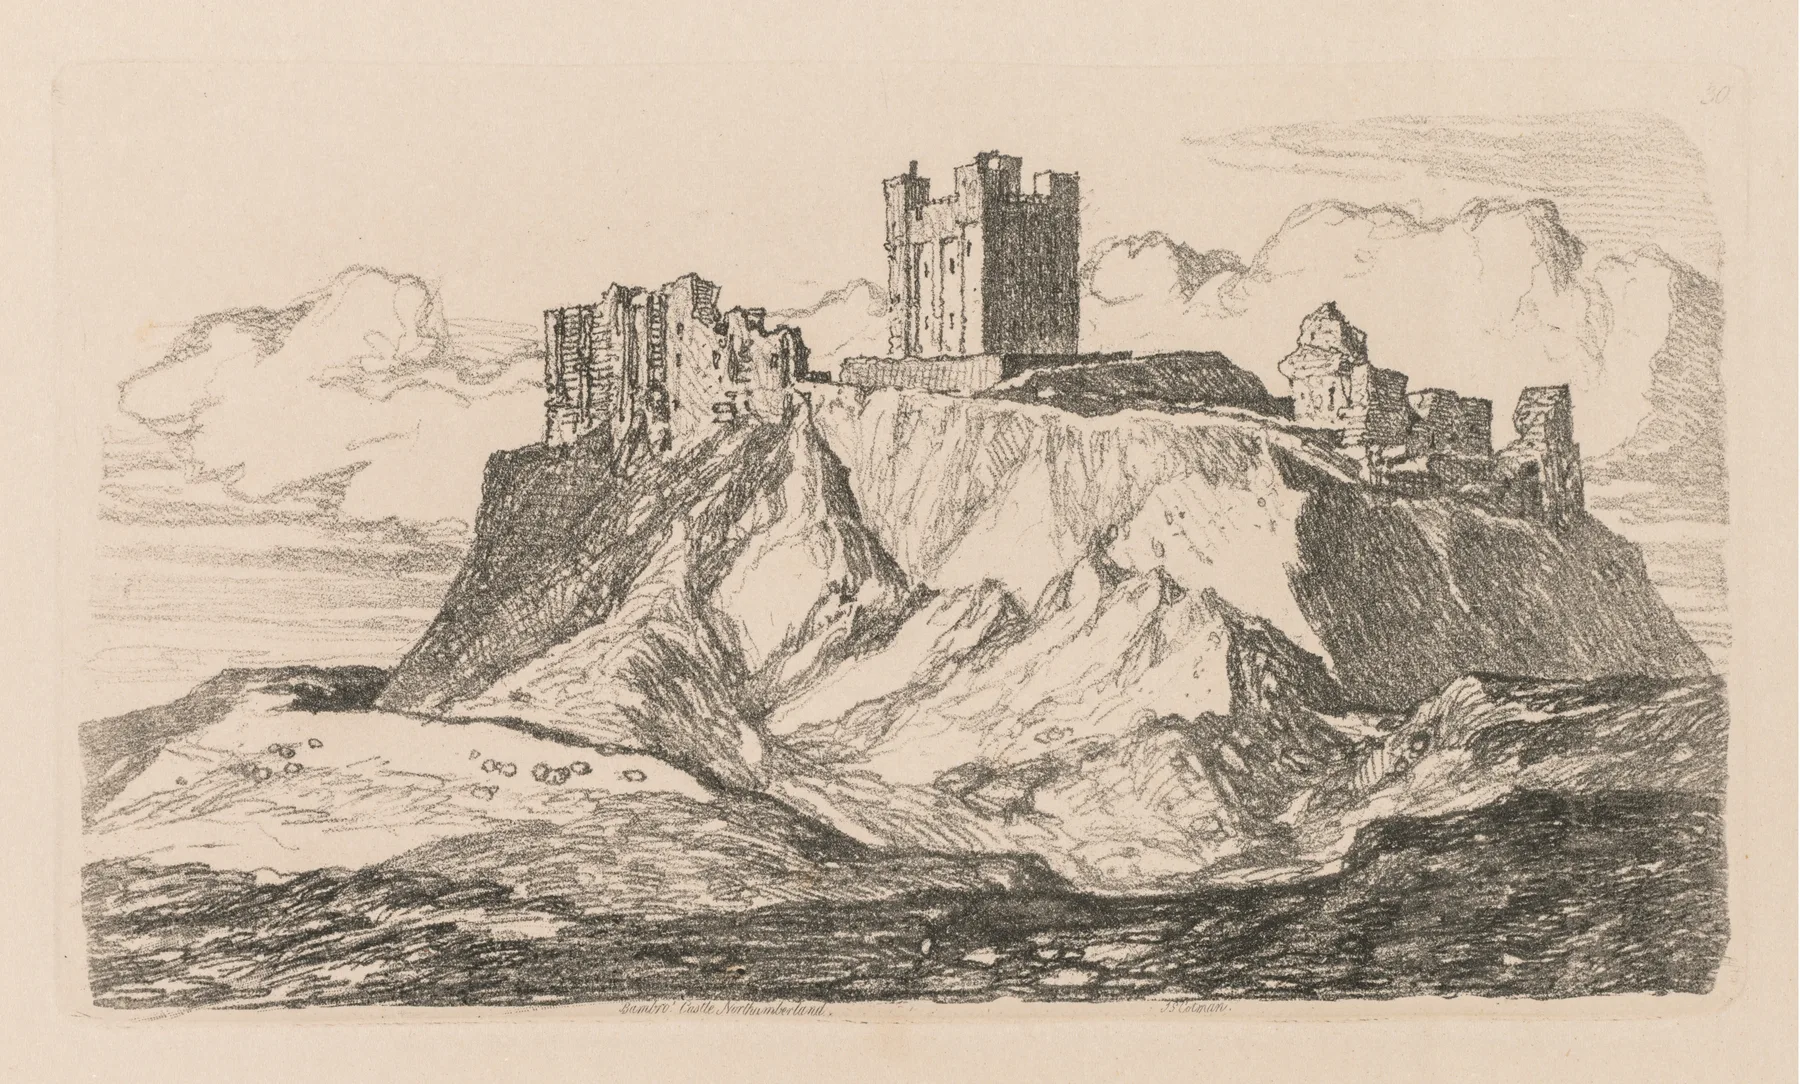
Cotman, Liber Studiorum: Plate 30, Bambro' Castle, Northumberland, 1838. softground etching, from a bound volume containing 48 plates.
The Cleveland Museum of Art · Bequest of John Bonebrake
Plate 30, Bambro' Castle, Northumberland
Cotman, 1838: a plate copy from an etched line
Liber Studiorum: Plate 30, Bambro' Castle, Northumberland, 1838: softground etching, from a bound volume containing 48 plates, Sheet: 49.5 x 32 cm (19 1/2 x 12 5/8 in.); Platemark: 11.4 x 20 cm (4 1/2 x 7 7/8 in.) (The Cleveland Museum of Art). A plate copy: the standard protocol for an etched line applied to this one sheet at the size of your book, with Cotman's own habits as the checklist. Squint at a Cotman until it becomes a jigsaw of three values. Notice the pieces are large and few.
In pencilAn etched line is a drawn line: the needle through the ground behaves like a hard pencil on smooth paper. Copy the plate as hatching with the hard grades, build tone from the spacing and direction of lines, and cross-hatch only in the darkest third. Do not smudge; an etcher cannot.
- Master
- John Sell Cotman
- Difficulty
- Time
- about 2.5 h
- You draw with
- H, HB and 2B graphite
Why this one
- Shape first. Reduce the building to three or four flat shapes of value and keep them flat.
- The constructed arch. Every window head in Cley Church is compass geometry drawn freehand.
- The ruin as silhouette: one stable mass with a broken top edge, some voids showing sky, some showing dark.
From your kit
The whole kit →- 1Grafwood H, HB, 2B H, HB for layout and line; 2B for the darks. Long points from the Blackwing on everything up to B.
- 2Kneaded eraser and the Mono Zero press-and-lift corrections only; the Mono Zero for a single sharp light.
- 3Alpha sketchbook 9 x 6 draw at the book's size and keep the proportions; date the page.
In general, this study asks for
- Drawing pad or the sketchbook
- 2H and H with long points
- HB and 2B for accents
- Kneaded eraser
- Precision eraser
Watch first
All videos →Timothy Wilcox on the Normandy tours and the Architectural Antiquities etchings. The architectural half of this course, explained by its curator.
YouTube Printmaking process: intaglioMinneapolis Institute of Art · Four minutes that make every etching in this catalogue legible: ground, needle, acid, ink, wipe, press.
 How Rembrandt made his prints: a demonstrationChristie's · Filmed at the Rembrandt House. The clearest view of drawing with a needle through ground, which is why etched line looks the way it does.
The plan
5 stages · ~110 min- 1
Read the plate first
5 minBefore any mark, look at Plate 30, Bambro' Castle, Northumberland for five minutes with the pencil down. Find the eye level or the horizon. Find the lightest light and the darkest dark and notice whether they touch. Count the big shapes: it is rarely more than four. Say what the picture is about in one sentence.
Checklist0 / 3 - 2
Envelope and masses
15 minMeasure the sheet's proportion and draw the envelope lightly at the size you will work. Place the horizon as a fraction of the height. Block the three or four big shapes as pale outlines, checking each against the others with the pencil held at arm's length. No detail yet; if a line is inside a shape, it is too early.
TipBeginners rush this stage. Masters spend half the drawing here.
Checklist0 / 3 - 3
Contours as the needle drew them
35 minH and HB, long points. Draw the contours with the etcher's line: thin, continuous where the plate is continuous, broken where it breaks. Notice that an etcher draws edges by stopping the hatching, not by outlining. Where there is no line in the original, there is none in yours.
Checklist0 / 2 - 4
Tone by spacing and direction
45 minMatch the plate's tone system: the lightest passages are the widest-spaced lines, the darkest are the closest. Follow the direction the etcher chose for each plane (roof one way, wall another, water horizontal). Cross-hatch only where the plate does, which is usually the darkest third.
Squint. Three values. If a passage reads lighter or darker than the plate, adjust spacing, not pressure.
Checklist0 / 3 - 5
Compare and note
10 minSide by side with the original: where did you add what was not there? Where did you darken what was light? Write one sentence on the sheet about what to change next time. Date it. Box it.
Checklist0 / 2
What it should look like
- A drawing built of lines you could count, with no smudged tone anywhere.
- Darks that are dense hatching, not black fill.
- The plate's three values, in the plate's places.
Where it goes wrong
- Soft, smeared tone. You reached for a soft pencil and the side of the lead. Hard grades, points, and spacing. Nothing else.
- Lines everywhere at the same spacing. The value system was not read before drawing. Map three spacings before you start: wide, medium, close.
Log this session
Start the clock when you pick up the pencil. Stop it when you put it down. Log it. Every session counts toward the box.
Status
How did it go?